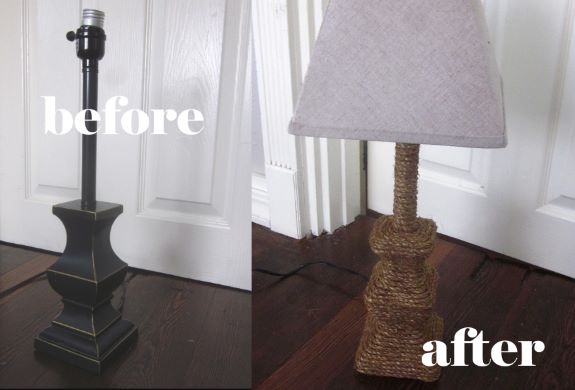
Rope Wrapped Lamp
Quick easy rope wrapped lamp re-vamp...
This rope wrapped lamp project is a super easy and if you are comfortable using a hot heat glue gun, you are good to go! The great thing about this little project is that it's quick with instant results!

Covering items with rope or twine gives them new life and a nod to the 60's style.
Depending on what you wrap in twine or rope your style will show through. For instance, a frilly chandelier or a modern round vase will give you different looks, but yet still result in a nice rustic neutral texture.
Great for adding character to almost any room!
Grab some glue sticks and your jute rope and let's get wrapping...
WHAT YOU NEED
This lamp rope wrapping project is so simple and easy all you will need are a few items:
1. Rope or jute
2. High temp hot glue gun
3. High temp hot glue sticks
4. Scissors

1
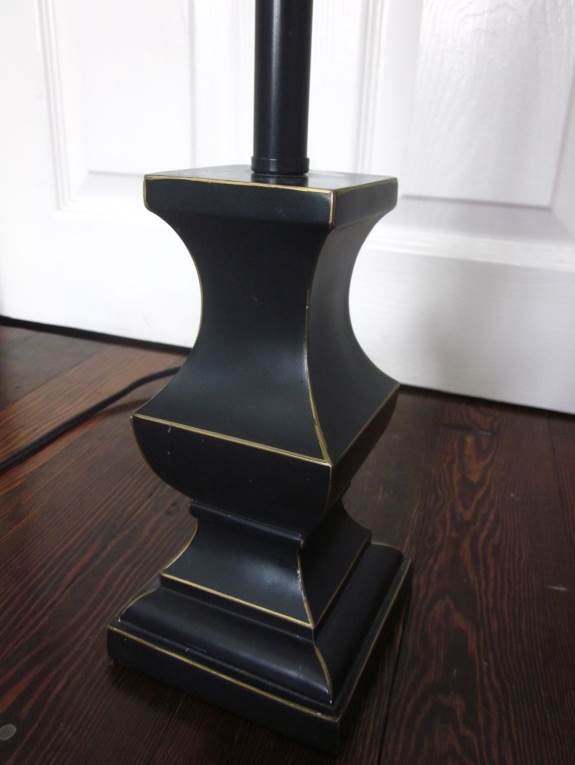
1. Choose an item of your choice to be wrapped.
For this project I decided to use a lamp, but you can wrap rope around just about anything like bowls, boxes, etc.
2
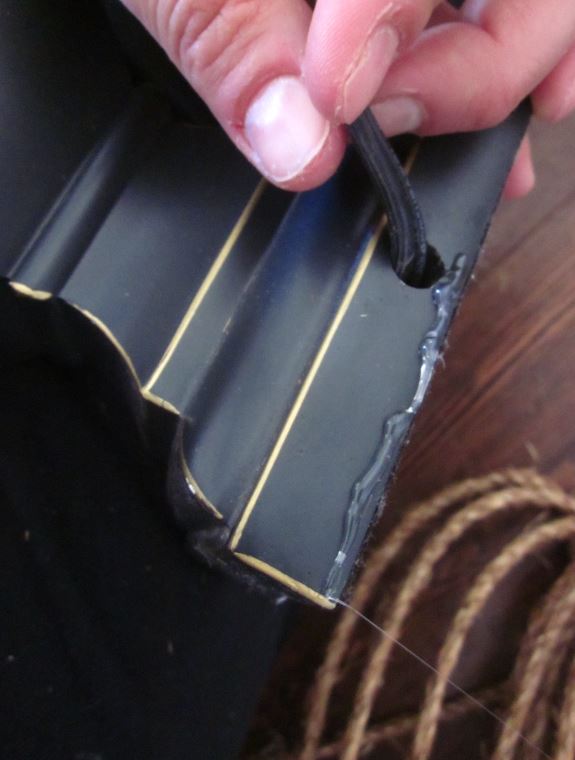
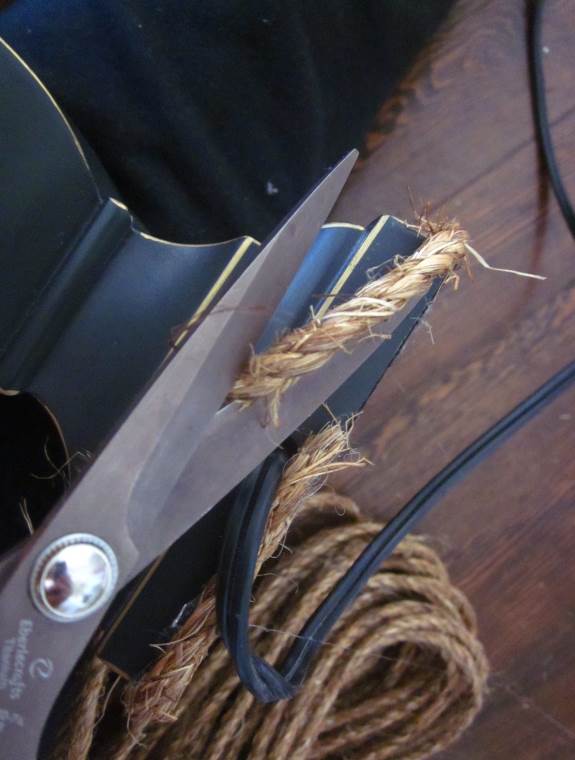
2. Heat the hot glue gun. Take one end of your sisal rope and cut at an angle, put a little hot glue inside the cut and twist with the rope, this will prevent the rope from fraying.
3
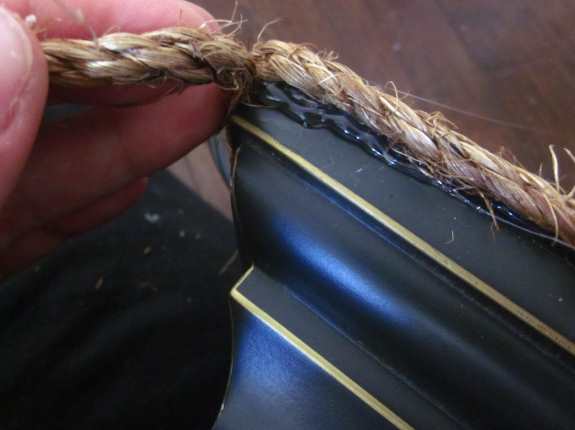
3. Pick your starting point, I decided to start at the base of the lamp.
Apply a small row of hot glue, then stick on the start of your rope [that you have glued to keep from fraying].
4
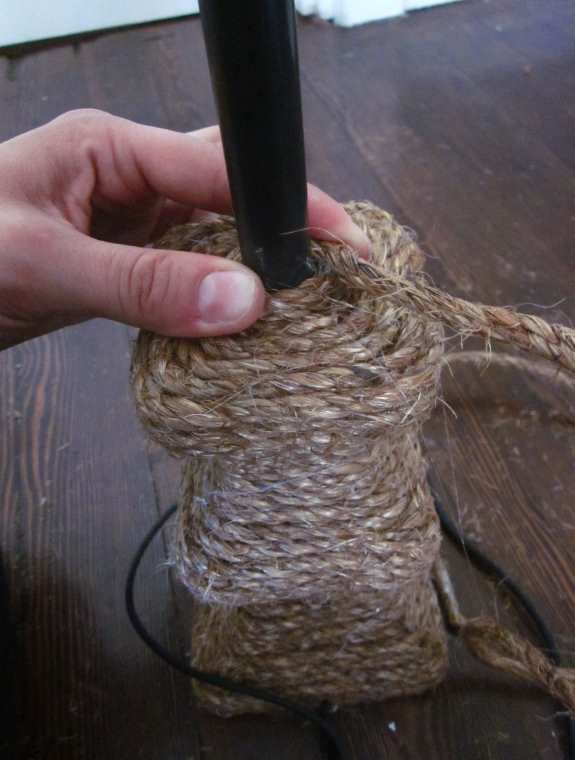
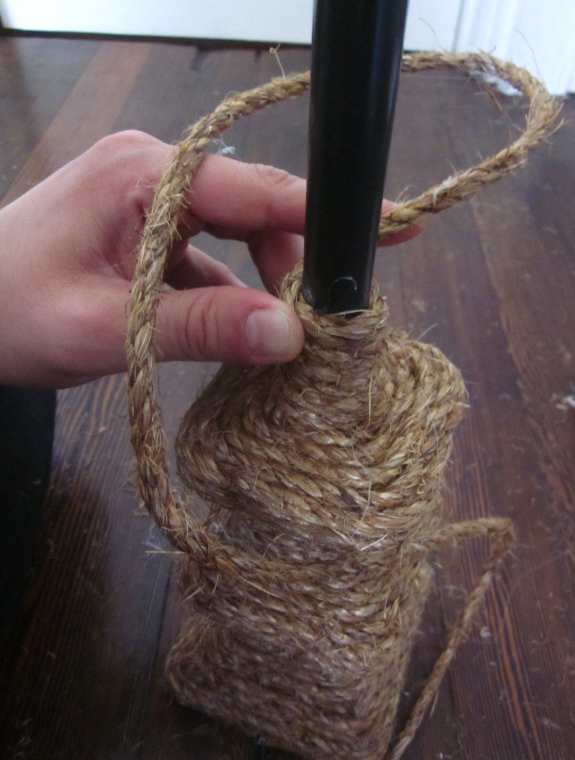
4. Continue to work and glue in small sections. Take your time, keeping your rows as straight and level as possible.
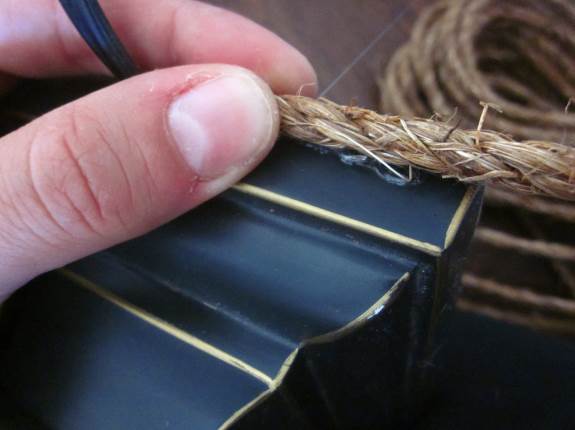
Continue to glue and wrap the rope until the desired surface is covered.
Finish your rope by cutting at an angle and putting some glue inside the cut then twisting...this will keep it from fraying.
This looks great!
5
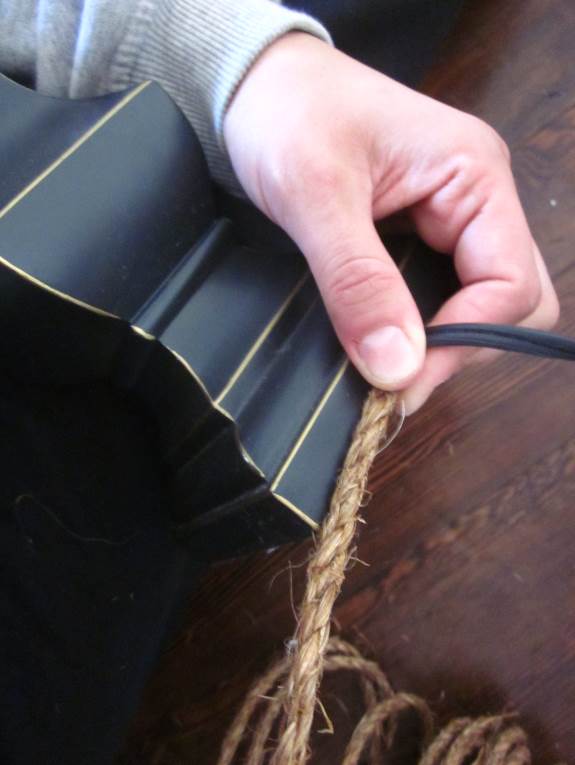
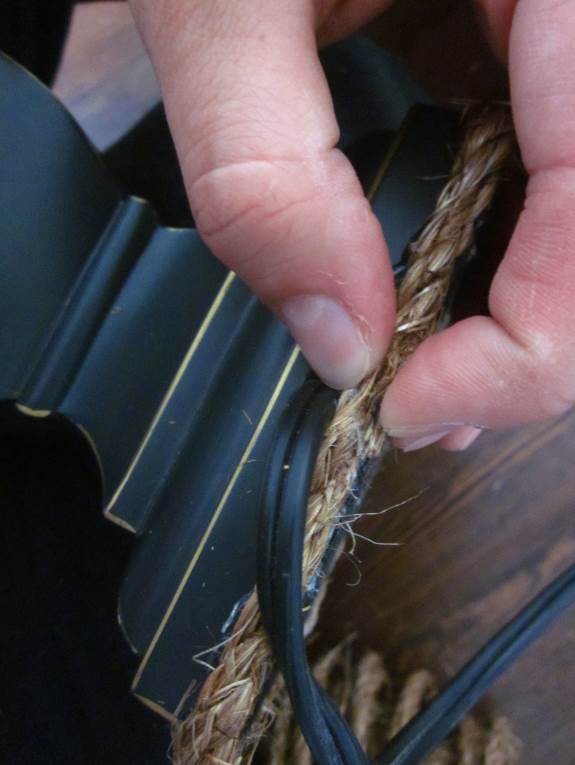
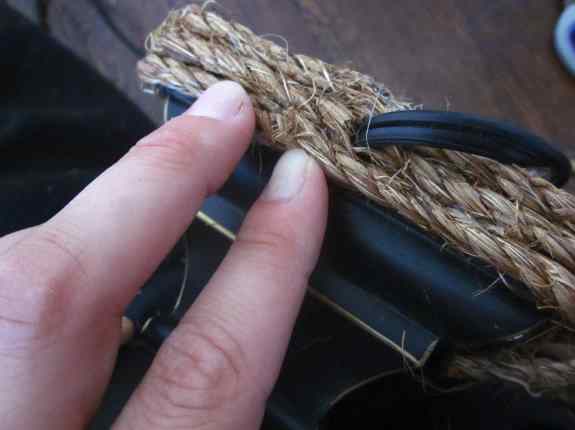
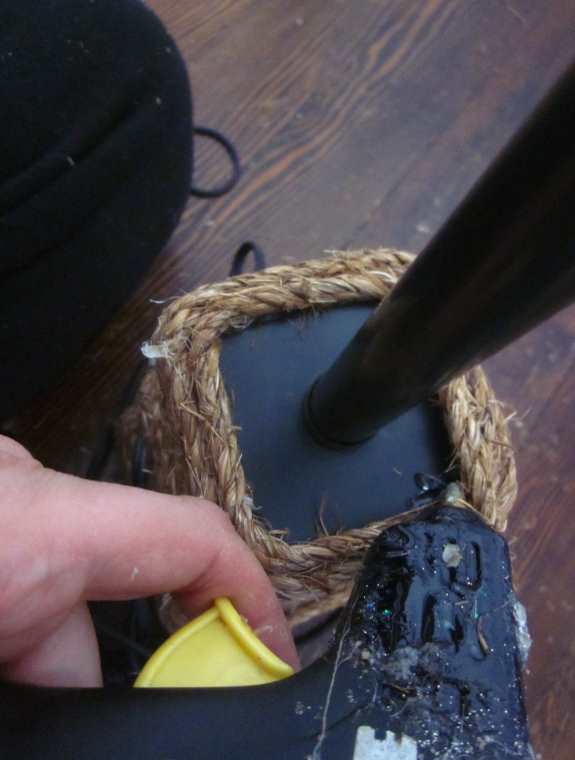
5. When you get to the cord section, cut the beginning of the rope at an angle. Secure the beginning of the rope with glue right up to the hole where the cord comes out.

Working in small sections, glue and wrap around the lamp...
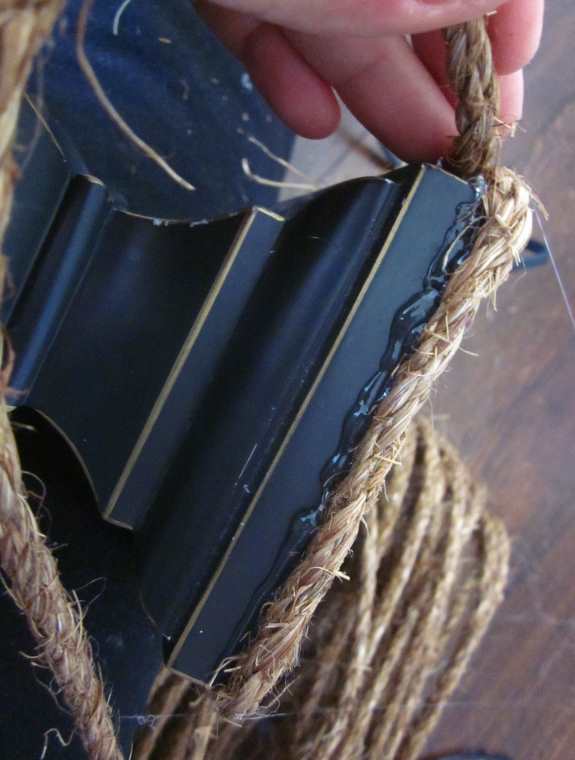
When you get to the other side of the lamp cord hole, cut your rope at an angle as close to it as you possibly can. Secure with glue.
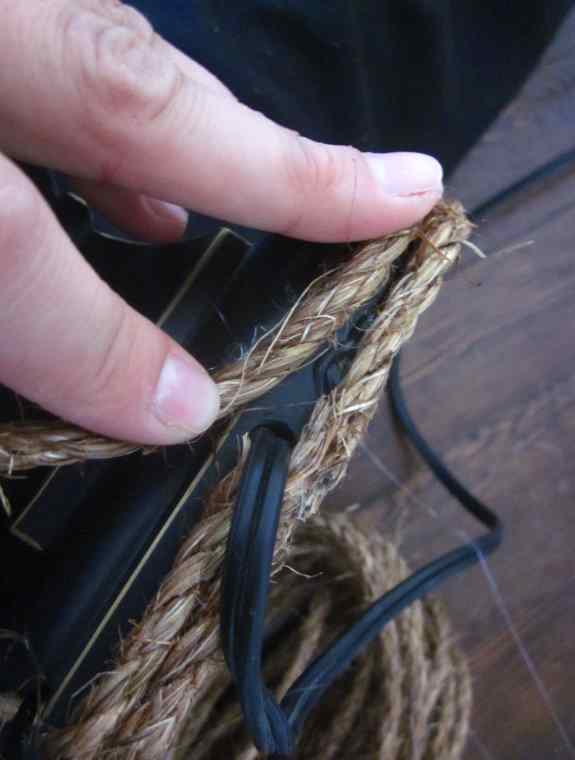
6
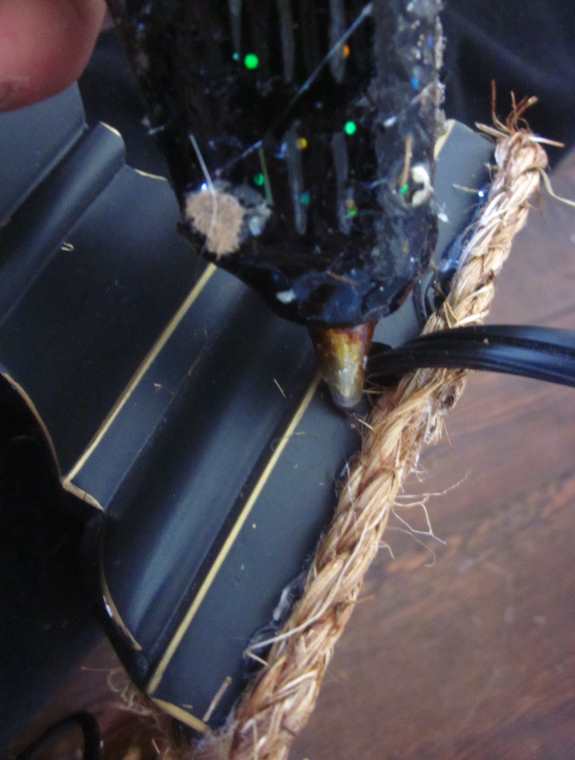
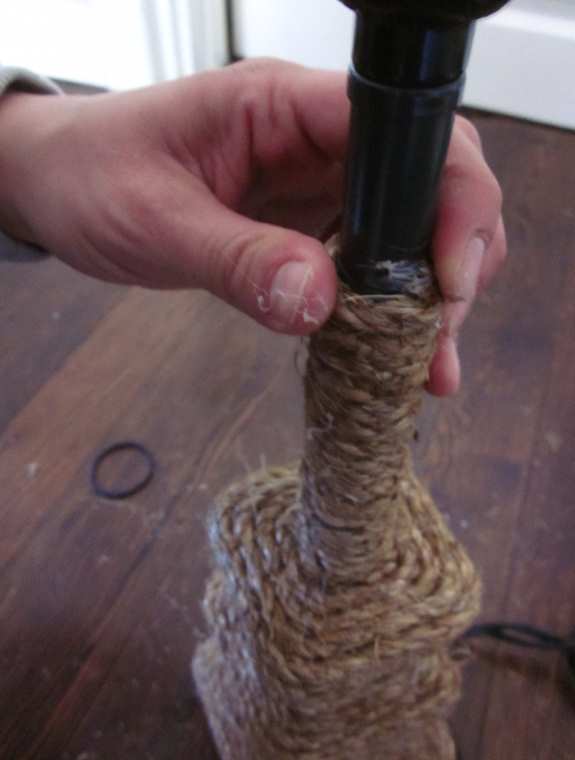
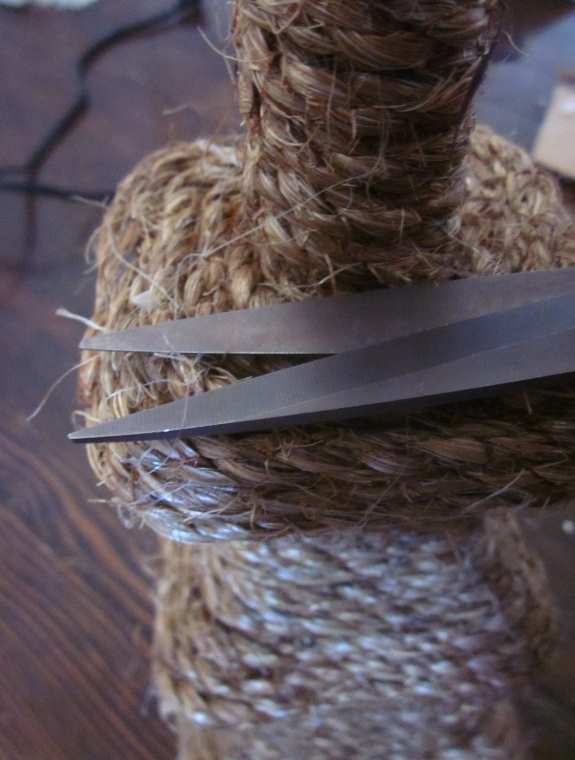
6. When you start the next row, make sure the starting end is cut at an angle and is not lined up directly above the cut section below it as in the photo below.
Wrap rope around, gluing as you go, to the beginning. Cut at an angle and secure with glue.
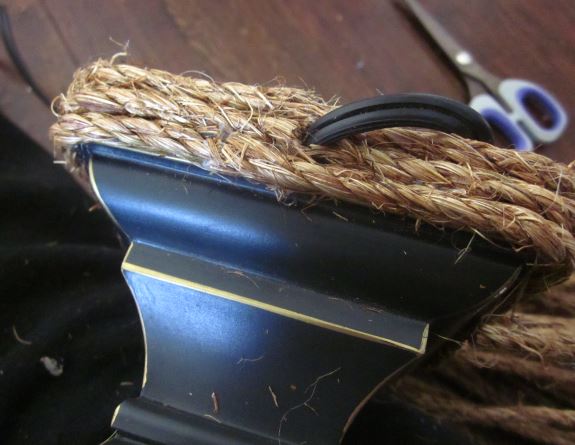
You have now finished the bottom of the base of the lamp.
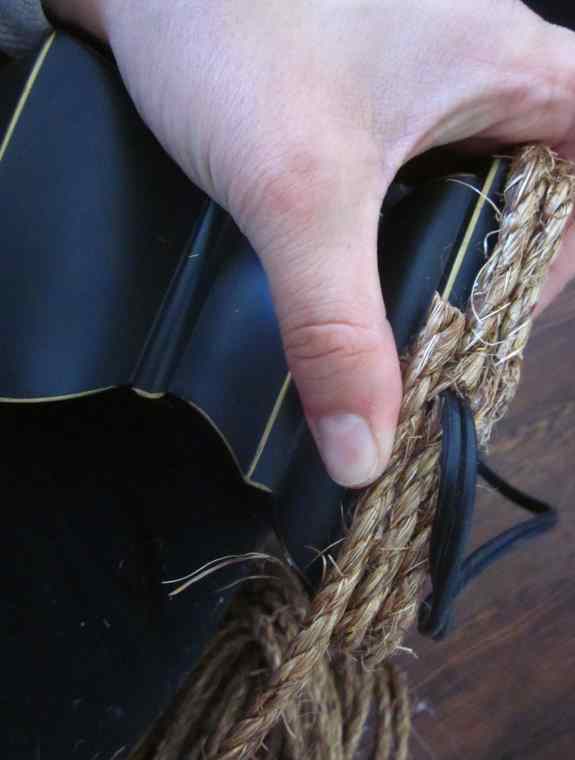
7
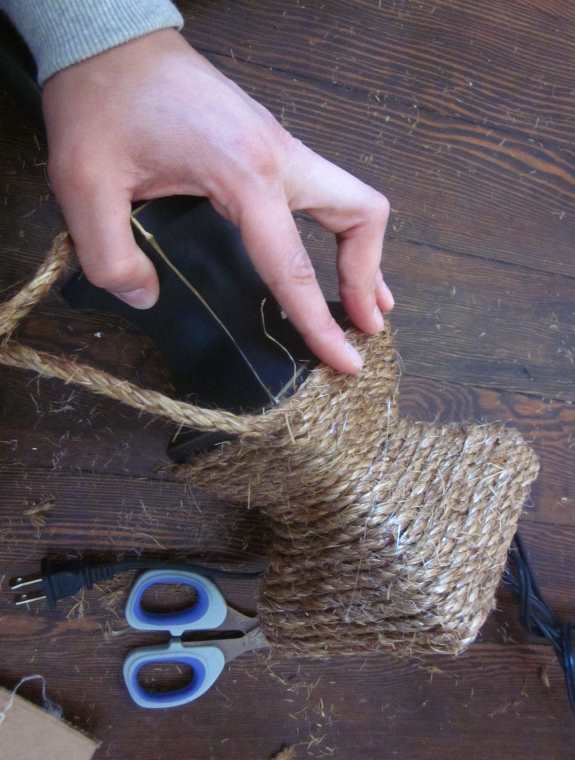
7. Choose a starting point and now glue and wrap. Keeping in mind to only glue small sections at a time making your project easily managed.
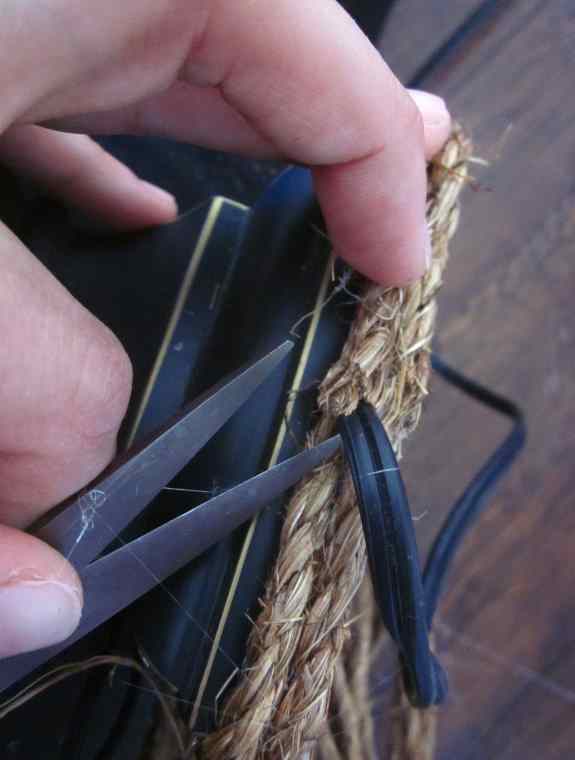
8
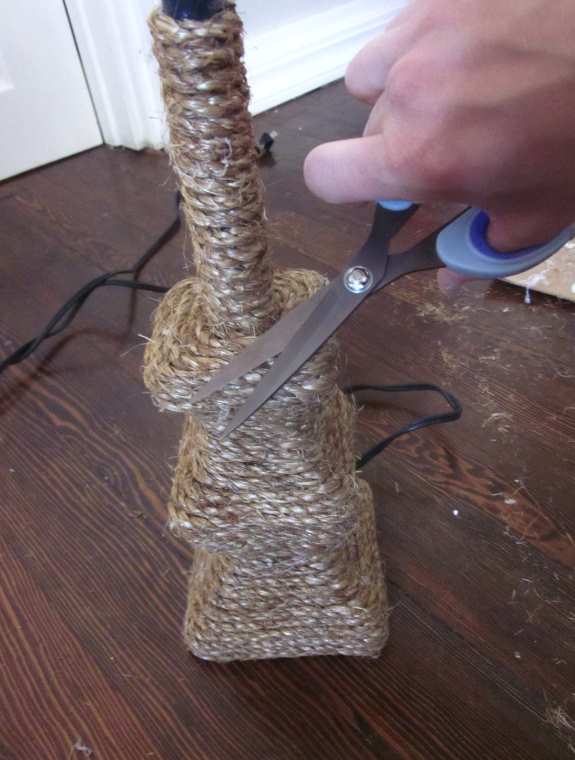
8. After you have completely covered your project with rope, take your scissors and trim the fraying rope strands coming out of the rope...just to clean it up a bit.
9
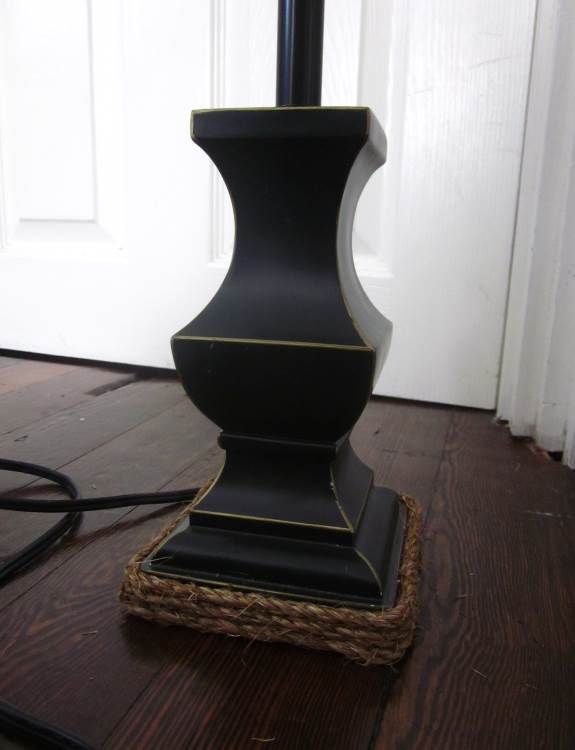
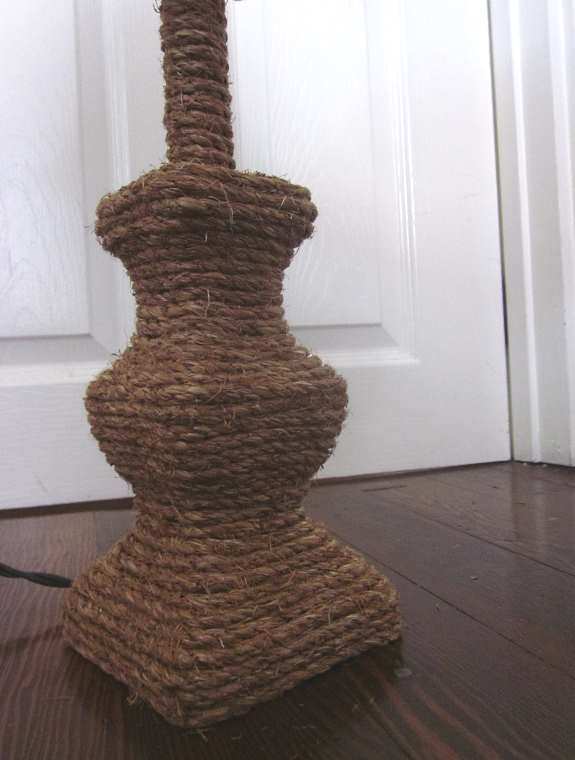
9. Your beautiful lamp is ready to be put to work!
10
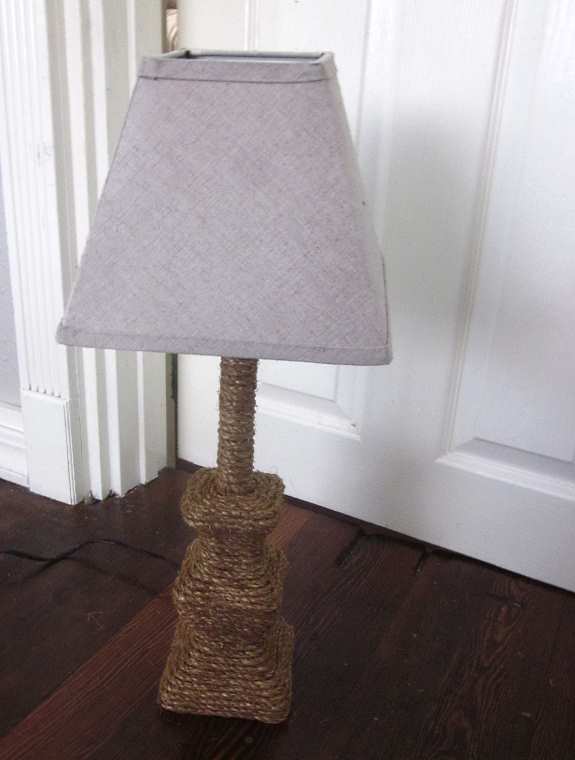
10. Add a lovely lampshade and display your rope wrapped lamp [or whatever you decided to rope wrap] with pride!
Bargain Breakdown...
My rope wrapped lamp project achieved the rustic look I was trying to capture plus I only spent a few dollars and very little time...bonus!
I will definitely be wrapping some more pieces as I see them when I am out bargain shopping at one of my favorite second hand stores!
Stay tuned and sign up for my awesome DIY newsletter!
Price Breakdown:
Second hand lamp - $2.00
Rope - $8.00
Glue - $2.00
Not bad...you get a $150 looking lamp for a mere $12.00!
Great news...
You
can do this "rope wrapping" easily with just about anything. Just follow my simple steps and
you will achieve this much desired textured look.
You may need to breath new life into
a bowl, vase, or lamps as I did...
The sky's the limit!
More Lamps!
After doing my rope wrapped lamp project, I couldn't resist experimenting with other lamps...
Check out my to-die-Rustic Black Table Lamps here...[coming soon]
Or my Faux Rusty Steel lamps here...[coming soon]
Rescue Recycle Reuse
From my artistic eye, I'm always trying to re-create looks of furniture or textiles that I've seen at markets, stores or in books and magazines from junk or second-hand stores...but for less, much less.
Warning: If you continue following my transformations, soon you will not be able to pass by a second-hand store, garage sale or even Craigslist without wondering if that piece of junk can be transformed into something spectacular.
It's a hobby. I love it. And I love sharing my results with you. If the transformation bug has bitten you, be sure to share your project, idea or advice with other DIY Decorators here...
Share Your Thoughts or Project
Do you like this project? Do you have anything to add to it? Have you done a project similar to this? Using my methods? Please share your DIY project or add your comments for all my visitors.

|
|
|
|
|
|
|
Newsletter

June Tailor and Quilt As You Go sewing kits
Since 1961, June Tailor has been developing and manufacturing innovative products for pressing, cutting, piecing and quilting for all levels of sewists from novice to advanced. June Tailor has it all!
Sewing & Cutting Cabinets
The perfect solution for any sewing room! Choose from hundreds of sewing cabinets, cutting tables and sewing chairs with features like rolling caddies, dedicated storage, multi-position lifts and more. Go here to find yours!
TRADE UP AND GO!
How Does It Work?
Trade in your GO! Me or GO! fabric cutting machine to get a great deal on a new fabric cutter!
Step 1
Select your trade-in fabric cutter model and credit method and purchase a Fabric Cutter Trade Up Set.
Step 2
Use the shipping label included with your new fabric cutter to send us the trade-in fabric cutter. Please follow all instructions provided in your confirmation email.
Step 3
Get your trade-in credit once we receive and validate the trade-in fabric cutter.
Go here to learn more!

Recent Articles
-
DIY Fireplace Makeover
Oct 03, 24 12:16 AM
 Make your space stunning with the DIY Fireplace Makeover that is also budget friendly.
 -
Less stressful Way to Purchase Traditional Middle Eastern rugs
Jul 10, 22 06:03 PM
 I have always found the purchase of a traditional Middle Eastern rug to be a stressful experience as they are a huge investment. But they are so beautiful
 -
Seasonal Decoration Changes
Feb 27, 21 05:34 PM
 I am in the later half of my life. I have always dreamed of having a home that was a neutral background and I could use artwork and decor to change the